Here's a not-so-detailed account of the process:

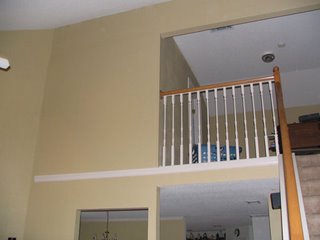
The first step (after a LONG trip - or two - to the Home Depot) is framing. We (I say WE - I really had nothing to do with it.) removed half of the railing and framed in the room. The room is 10X12 - pretty small - especially after you take out a closet. You'll also notice that half of the dining room is painted red. (the actual name is Mission Tile)

After the room is framed, we put up the drywall. Eric, Dad and Kelsey did most of the heavy lifting and putting in the drywall screws, but Mom is a whiz at filling in the cracks with the putty knife.
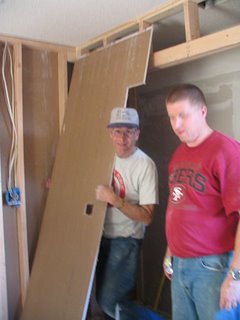
So, we were sitting at lunch and suddenly Dad says, "Where is the light switch in that room?" Eric's answer was, "Behind the drywall." So, they had to take down one of the drywall sheets and cut a hole in it for the light switch. Oops!
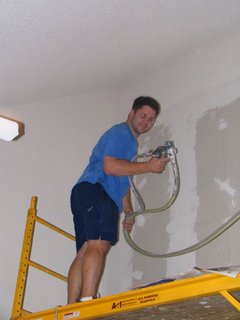
Here is Kelsey wielding the Texture Sprayer. This job was pretty difficult. He had to get the new texture to match the old texture since they were right next to each other. I must say he did a very good job. Eric was a big help. He did all of the flattening after Kelsey sprayed. This was the end of the first day. We went to bed late to wait for the texture to dry before we began painting the next day.

Mom was the queen taper. We used 3 rolls of painters tape and 22 sheets of ground cover. Since we were using the sprayer EVERYTHING had to be covered. Dad even went and begged newspapers off of the neighbors in order to get everything covered properly. Here are Eric and Kelsey spraying. It really took 3 people to do the job. Eric ran the sprayer and Dad and Kelsey held the shields to make sure the ceiling and floor didn't get any overspray.

Ezra got home just in time to help with clean-up. Of course, he was wearing a brand new pair of shorts! Oh well, he had a good time! They're still wearable. However, the lawn, flowers and tree still have white stuff on them.
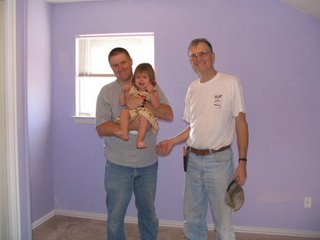
There was a lot more that happened to finish out the room, but by that time, we were tired of taking pictures!




 Here is Kelsey wielding the Texture Sprayer. This job was pretty difficult. He had to get the new texture to match the old texture since they were right next to each other. I must say he did a very good job. Eric was a big help. He did all of the flattening after Kelsey sprayed. This was the end of the first day. We went to bed late to wait for the texture to dry before we began painting the next day.
 Here are Eric and Kelsey spraying. It really took 3 people to do the job. Eric ran the sprayer and Dad and Kelsey held the shields to make sure the ceiling and floor didn't get any overspray.


